

“OMG, what am I going to post today?”
We’ve all been there — staring at your phone, scrolling through half-edited photos, trying to force inspiration before the algorithm forgets you exist.
Coming up with something on the fly might work occasionally, but if you’re trying to build a brand, grow an audience, or just show up consistently without the stress spiral, you need more than good vibes. You need a plan.
Enter: the Instagram feed planner, a tool that helps you map out content, stay on brand, and finally break up with the post-and-pray method. Sounds pretty great. Well, stay tuned, because we’re about to tell you exactly how to use a feed planner to create a scroll-stopping, strategy-backed Instagram presence.
Let’s dive in.
What Is an Instagram Feed Planner and Do You Need One?
An Instagram feed planner is a visual planning tool (typically, a mobile app or web platform) that helps you design and organize your grid before hitting publish.
With drag-and-drop features, content previews, and post scheduling, feed planners make it easy to create a cohesive, on-brand aesthetic. Whether you’re managing photos, Reels, or Stories, a planner can help you streamline your content workflow and stay consistent without scrambling for last-minute posts. Some of the most popular feed planners on the market include Preview, Plann, and Later — more on those in a bit.
Are there benefits to using an Instagram feed planner? (spoiler alert: yes)
The days of throwing a random picture of your lunch on Instagram and hoping for the best are long gone (unless you’re Gordon Ramsey). Today’s Instagram is all about planning, aesthetics, and giving your audience what they want before they even know they want it. A feed planner helps you:
- Keep your aesthetic on point. Think of it as the bouncer for your Instagram club. Only the best posts get in.
- Save time and perfect your posts. If you have a Business or Creator Account, you can use Instagram’s native tools to schedule posts in advance. However, using a feed planner gives you the big-picture view. You can drag and drop posts around your grid, see how they flow together, and make sure your profile matches the vibe you want before anything goes live.
- Track content performance. You want to know what’s hitting the mark, right? Most feed planners come equipped with analytics tools to help you figure that out.
And if you’re wondering whether planning pays off — it does.
Consistent posters receive five times more engagement (we’re talking likes, comments, and shares) per post than users who post inconsistently. And even those who were only moderately consistent still earned four times more engagement than their post-at-random peers.
So…who benefits most from using a feed planner?
Anyone looking to up their Instagram game can benefit from a feed planner, but especially:
- Brands and small businesses that want to look professional and stay consistent without hiring a full-time social team.
- Content creators and influencers who rely on a visually appealing grid to attract collaborations and build trust.
- E-commerce shops that need to showcase products in a polished, shoppable layout.
- Agencies and social media managers who handle multiple clients and need a streamlined way to stay organized.
- Photographers, designers, or creatives who treat Instagram as a digital portfolio.
If your account means to sell, inspire, or build a community, a feed planner can help you achieve that.

Depending on your needs and overall budget, there are several feed planners available for influencers, content creators, and business owners. Let’s talk about the three most popular options.
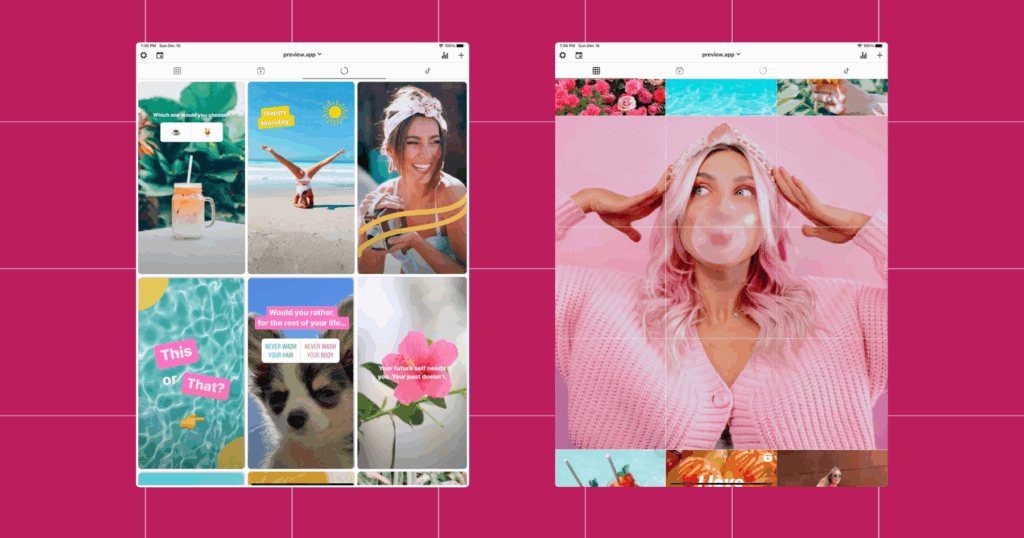
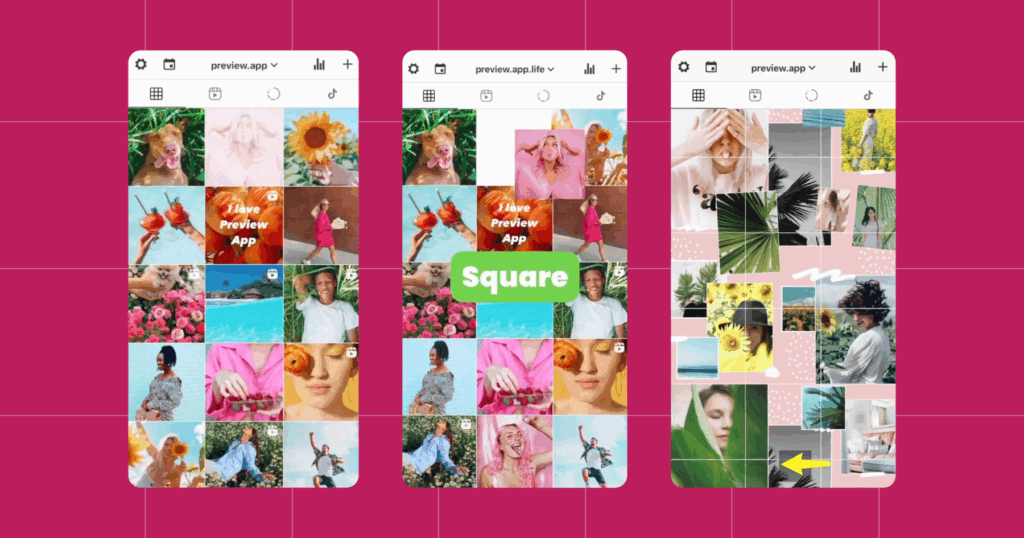
1. Preview
Preview is the ideal choice for creators and visual storytellers who are all about the aesthetics. This planner gives you total visual control — drag, drop, rearrange, repeat — until your layout looks just right. It’s especially popular with creators and influencers who want their feed to feel polished without being robotic. Plus, there’s a free plan available.
Preview’s offerings include:
- Unlimited post planning (even on the free plan)
- Grid previews to test your feed flow
- Drag-and-drop editor with filters and editing tools
- Hashtag research and analytics
- Auto-posting for peace of mind
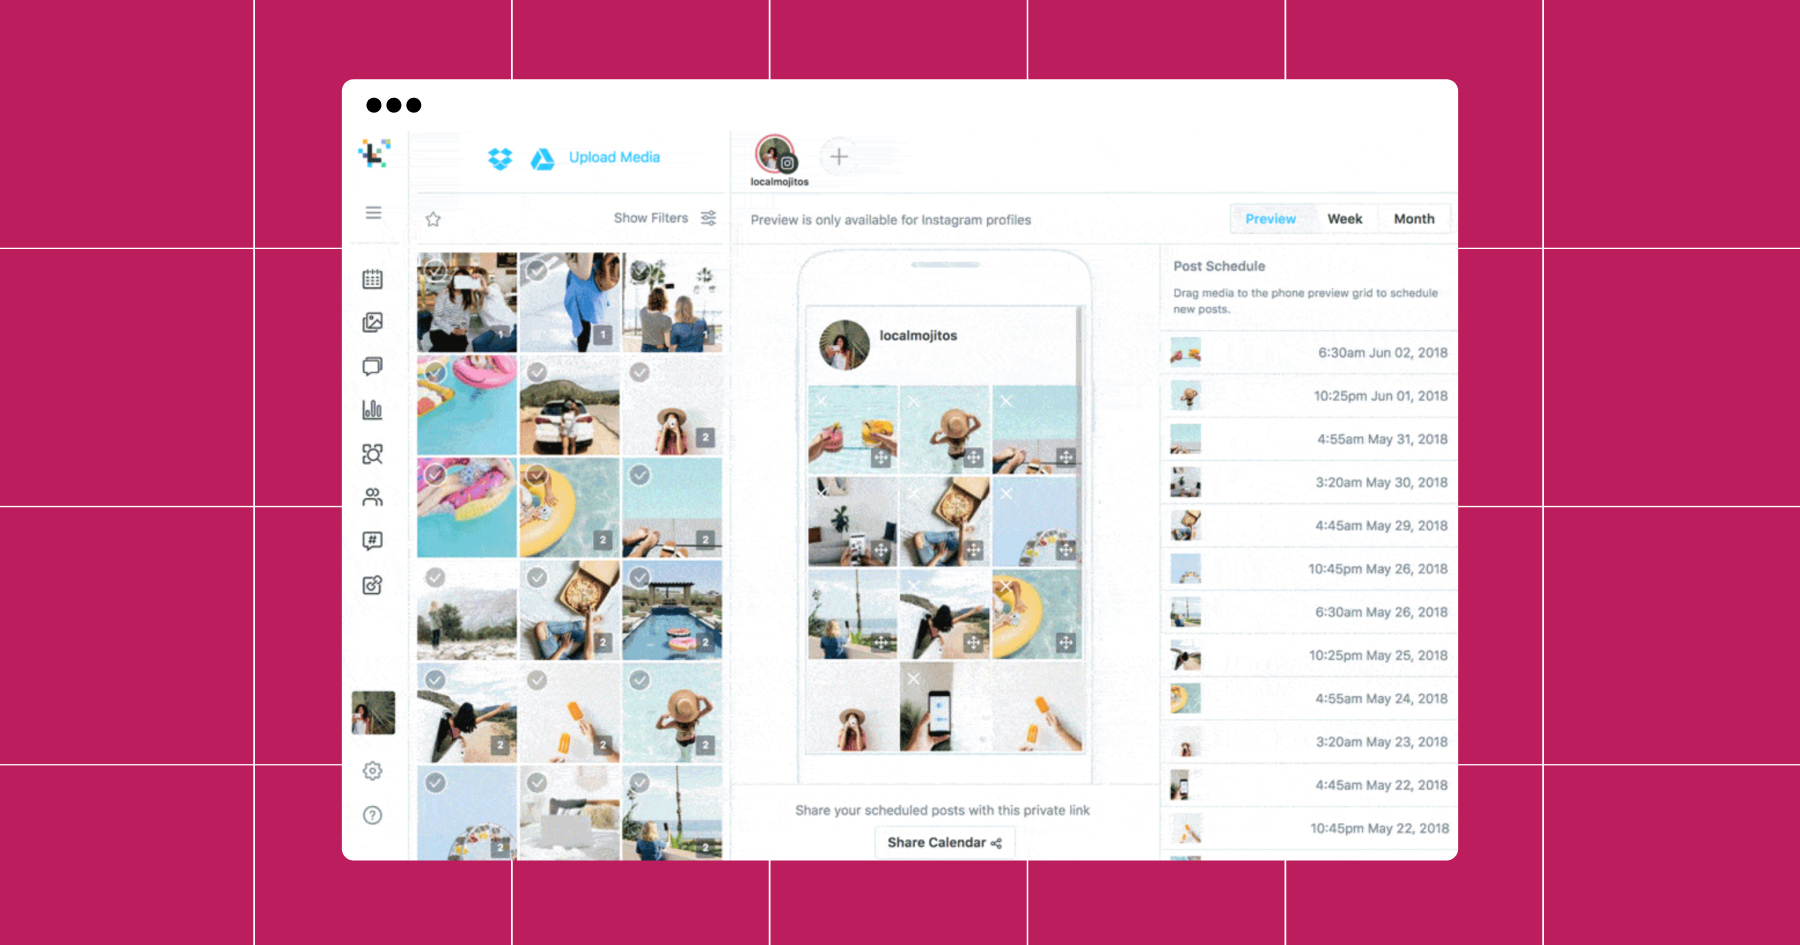
2. Plann
Think of Plann as your all-in-one social media HQ. It goes beyond Instagram to help you organize content for Facebook, TikTok, LinkedIn, and Pinterest — making it a good choice for those juggling multiple platforms. It also plays well with teams, so you’re not stuck doing everything solo.
Plann’s offerings include:
- Cross-platform scheduling and content planning
- Grid layout previews for Instagram
- Built-in editing and Canva-style design tools
- Brand calendars and strategy prompts
- Team collaboration with roles and approvals
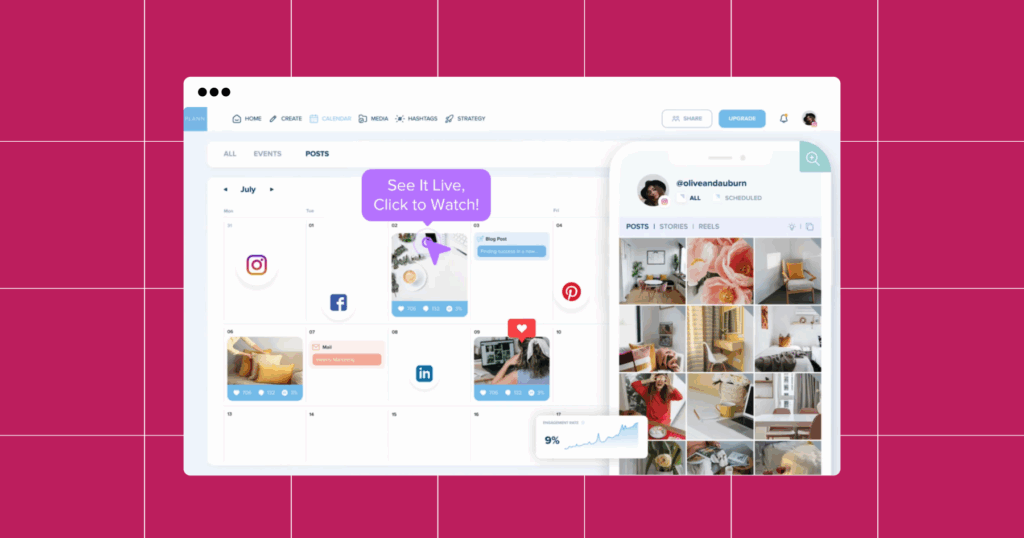
3. Later
If data and ROI are your love languages, Later is the planner for you. It’s built with marketers in mind — combining visual planning with powerful analytics and e-commerce integrations. You can track link clicks, follower growth, and even how your feed drives sales. Bonus: Its interface is super beginner-friendly.
Later’s offerings include:
- Feed preview and drag-and-drop scheduler
- Auto-publish for posts, Reels, and Stories
- Linkin.bio for creating shoppable feeds
- Detailed post performance analytics
- User-generated content (UGC) sourcing tools
Using an Instagram Feed Planner: The Basics

You’ve picked your planner. Now what? Following a clear, repeatable process will save you time and drive results. Here’s how to do it.
1. Decide what you’re working toward
Start by asking: What am I trying to achieve here?
There are three main goals most accounts fall under — and you might even pursue a mix:
- Growth: Want more followers? Prioritize eye-catching visuals, trending content formats (like Reels), and smart hashtag strategies. The goal is to get discovered and spark curiosity.
- Community: Hoping to build trust and brand loyalty? Focus on relatable content, behind-the-scenes moments, and sharing your audience’s stories (hello, UGC). Posts should feel like conversations, not ads.
- Engagement: If comments, shares, and saves are your top priority, get interactive. Ask questions, post polls, use carousel posts, and reply to comments to keep the discussion going.
2. Prep your content
Once you know your goal(s), it’s time to get your visual and editorial ducks in a row.
First, pick your themes and filters. Accounts with consistent visual themes experience 23% higher engagement rates than those with scattered aesthetics, so the idea here is to create a visual identity that your audience can instantly recognize. Bold and colorful or soft and neutral — it doesn’t matter, but consistency is key. Stick to two or three complementary filters or presets that reflect your brand’s vibe, and apply them across your posts to maintain a cohesive look.
Next, establish your editing style. This includes how you crop images, the use of overlays or design elements, and the overall tone of your visuals. Your Reels might have fast-paced cuts with trending audio, or your static posts are clean and airy with lots of whitespace. Whatever your style, keep it consistent to build a signature look and feel.
Use content buckets to bring structure to your feed while keeping it interesting. Buckets are recurring content themes (like behind-the-scenes moments, tutorials, testimonials, UGC, or product showcases). They help you mix up your messaging without straying from your strategy, making planning way less overwhelming.
Build a content calendar to stay organized and avoid the stress of posting on the fly. Most feed planners make this step easy by letting you visually slot content into your calendar alongside key dates, launches, or seasonal themes.
3. Curate your feed
Now for the fun part: visually planning your grid. Every feed planner is different, but generally, you should be able to:
- Drag and drop your posts. Use your planner to move images and videos around until the flow feels cohesive. Think of your grid like a magazine spread — every post should have its place.
- Create visual balance. Break up busy images with whitespace, alternate quote cards with photos, or line up color blocks for a rhythm that feels intentional.
- Write captions that count. Your first line is your hook — make it a scroll-stopper. Ask a question, drop a stat, or start a story. Then follow up with a clear CTA.
4. Schedule it
Once your feed looks the way you want, it’s time to automate (our favorite!).
Use your planner’s scheduler to set post dates and times when your audience is most active; most tools offer suggested times based on your past engagement. While many planners allow auto-posting, some formats (namely, Reels and Stories) may still require manual approval — so make use of reminders and app notifications.
💡Tip: Instead of posting daily, schedule a week or even a month in advance (with time for weekly reviews and tweaks). This frees up your time to focus on real-time engagement and creative thinking.
Bonus Tips to Make Your Grid Pop 💥

Once you’ve got the basics down, these extra strategies can take your Instagram feed from just fine to damn…they really know what they’re doing.
User-generated content (UGC) is gold, and it’s probably hiding in your tagged posts. One of the best ways to share social proof is to post UGC — but first, you have to make sure you have it. To encourage your followers to share their experiences, you can:
- Run a hashtag campaign (e.g., Calvin Klein’s #MyCalvins)
- Add a “Share your story” CTA in captions or packaging
- Repost customer content (with permission!) to Stories or the main feed
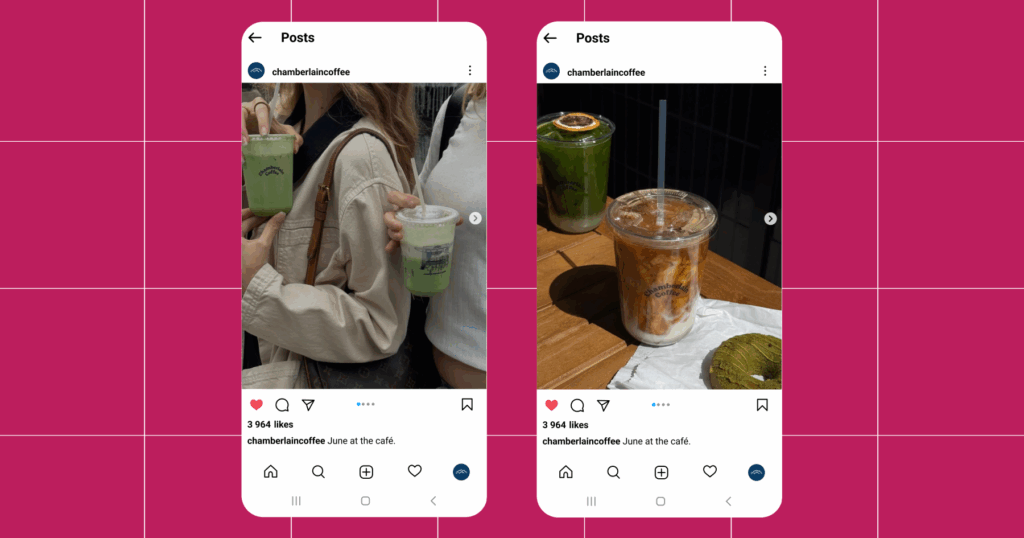
Like Chamberlain Coffee’s posts, seen below.
Captions: Reel ‘em in with a great first line
Even though Instagram is a visual-first platform, captions matter. And because the platform truncates text after a couple of sentences, you’ve only got so many characters to hook your reader.
Fortunately, you don’t need to be an accomplished writer to come up with a good caption. When in doubt, a bold opinion, a surprising stat, or a question that begs to be answered will do.
And as far as length goes:
- Short captions (under ~150 characters) are especially effective for Reels, where users are in fast-scroll mode and prefer bite-sized content.
- Medium-length captions (150 to 300 characters) are ideal for storytelling, educational content, and connection-building posts.
- A mix of caption lengths performs best overall: Aim for 60% short, 30% medium, and 10% long captions.
Regardless of length, clarity is key. Avoid walls of text, use line breaks, and end with a call to action — even if it’s simple, like “Drop your thoughts below ⬇️” or “Bookmark this for later.”
Content themes: Tell a visual story
We touched on this earlier when mentioning content buckets, but one of the easiest ways to build visual rhythm and stay organized is to use rotating content themes that change week to week or month to month.
Themes provide variety, but they also give your content purpose. They help your audience know what to expect and look forward to, and they can even prevent creative burnout (less ideation, more execution).
Example: Weekly themes for an infopreneur
If you’re an infopreneur (someone like Tony Robbins who sells expertise through coaching, courses, or digital products), your content should balance authority, authenticity, and value.
A weekly theme rotation might include:
- Bite-sized lessons that provide quick, actionable insights in the form of carousel tips, myth-busting Reels, or “Did you know?” posts.
- Client wins like testimonials, transformation stories, or snapshots from your programs (AKA social proof that builds your credibility).
- Thought leadership content, including hot-button topics in your industry, common misconceptions, or something people get wrong about your niche.
- Personal picks such as what you’re reading, how you stay organized, lessons from a recent failure, or even your morning routine.
Plan, Preview, Schedule, Repeat

Your content may be live, but your job isn’t over (sorry). The next step is to analyze your content’s performance, either via your feed planner’s analytics feature or in Instagram itself. FYI, you will need a business or creator account for the latter.
When digging into metrics, consider:
- Which posts are getting saved, commented on, or shared?
- What times of day or content types resonate most with your audience?
- Are your CTAs actually leading to clicks and replies?
Once you spot the patterns, it’s time to make some adjustments. Double down on what’s working and scale back (or rework) what’s not. Tweak your visuals, rephrase your CTAs, or shift your posting schedule. Planning isn’t set-it-and-forget-it; it’s an ongoing feedback loop.
And while we’re on the topic of working smarter, not harder: Automation is your best friend. Scratch that, Manychat is your best friend. Think of it like a digital assistant who never sleeps and is always in your DMs — answering FAQs, qualifying leads, following up after comments, and helping you turn passive engagement into meaningful interactions.
Ready to get started? Sign up for Manychat today.
✋ Frequently Asked Questions (FAQs)

1. My feed looks good. Why am I not getting more DMs or sales?
Having a pretty feed is great, but you need to include CTAs if you want users to take a specific action. Every few posts, prompt people to take action: comment, save, DM a keyword, or click a link.
2. Can I automate DM replies from my feed, or just from Stories/Reels?
You can automate from feed posts with comment-to-DM flows. Just set up a Keyword-triggered flow, then tell people to comment the trigger (“FREE,” “PROMO,” etc.), and Manychat will instantly reply via DM. This works beautifully with static grid posts or carousels that offer value (like planning tips, resources, or behind-the-scenes).
3. If I’m using a planner, do I still need a content calendar or buckets?
Yes. Feed planners show you what the grid looks like, but content buckets tell you why each post exists. Without a calendar or bucket system, it’s easy to post too much of one thing (promotions) and not enough of what builds trust (behind-the-scenes, UGC, or teaching moments).
4. I schedule everything — so why am I still burned out or overwhelmed?
If you’re using a feed planner, but you’re still overwhelmed, it might be time to take your automation to the next level. Manychat can handle the interaction layer — including replies, lead capture, and FAQ handling — so you’re not stuck answering the same DMs on repeat.
5. How do I know if my feed strategy is actually “working”?
Watch for signals like:
- People replying to your CTAs (commenting or DMing keywords)
- Higher saves and shares on educational posts
- More email signups or sales from links in bio or DMs
These signals matter more than likes — they tell you your content is moving people to act.